
The simple procedure for configuring Orbi in Bridge Mode is intended to incorporate the Orbi system into an already-existing network without interfering with the DHCP and NAT features of the primary router. How to setup orbi bridge mode:
- When you want the Orbi system to function more as a network extender than a stand-alone router, Bridge Mode is particularly helpful.
- Make sure you have physical access to both your Orbi router and a computer or other device that is a part of the Orbi network before you start.
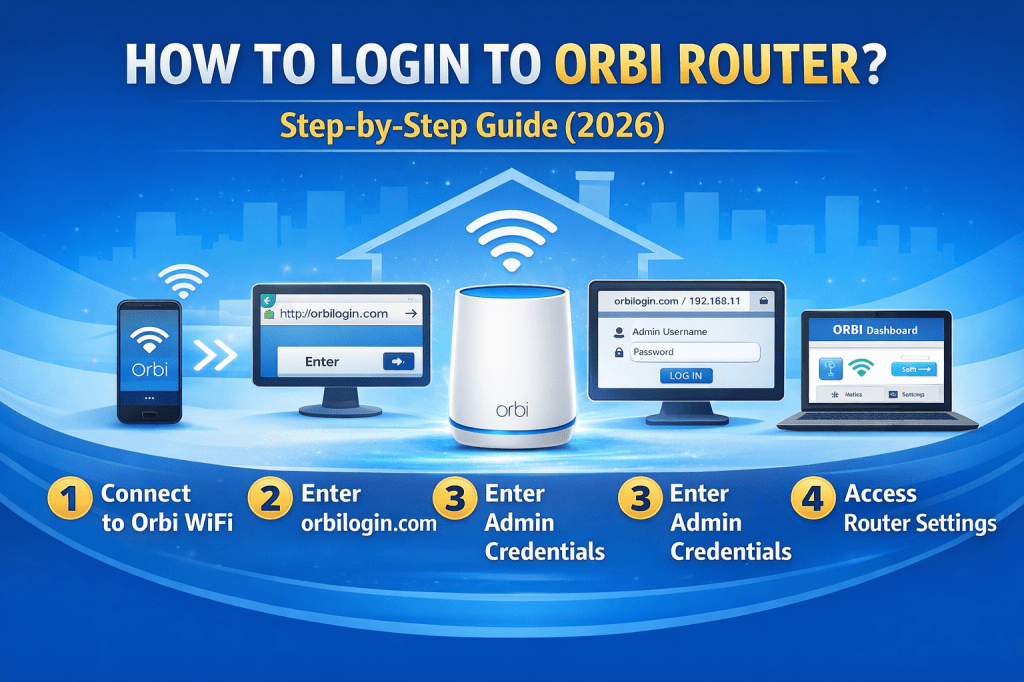
- Start by accessing orbilogin.com or http://192.168.1.1 in your browser to log into the Orbi online interface.
- If you haven’t updated your admin credentials the default username is often “admin” and the password is “password.” Use these to log in.
- Select Advanced > Advanced Setup > Router/AP Mode from the menu after logging in.
- Choose AP Mode (Access Point Mode) which is the Orbi system’s equivalent of Bridge Mode. After saving the modifications, watch for the Orbi to restart.
- Throughout this procedure use an Ethernet cable to link the LAN port of the Orbi router to the LAN port of the primary router.
- This guarantees efficient communication between the Orbi system and the primary router.
- Your home’s Wi-Fi will remain seamless if you have Orbi satellites which will continue to serve as extenders.
- Features like Parental Controls and other sophisticated routing capabilities might not work when in Bridge Mode since the primary router takes up these responsibilities.
- Lastly confirm that devices are effortlessly transitioning between the Orbi and main router’s networks by examining connection.
For more questions please visit our website.


Leave a comment